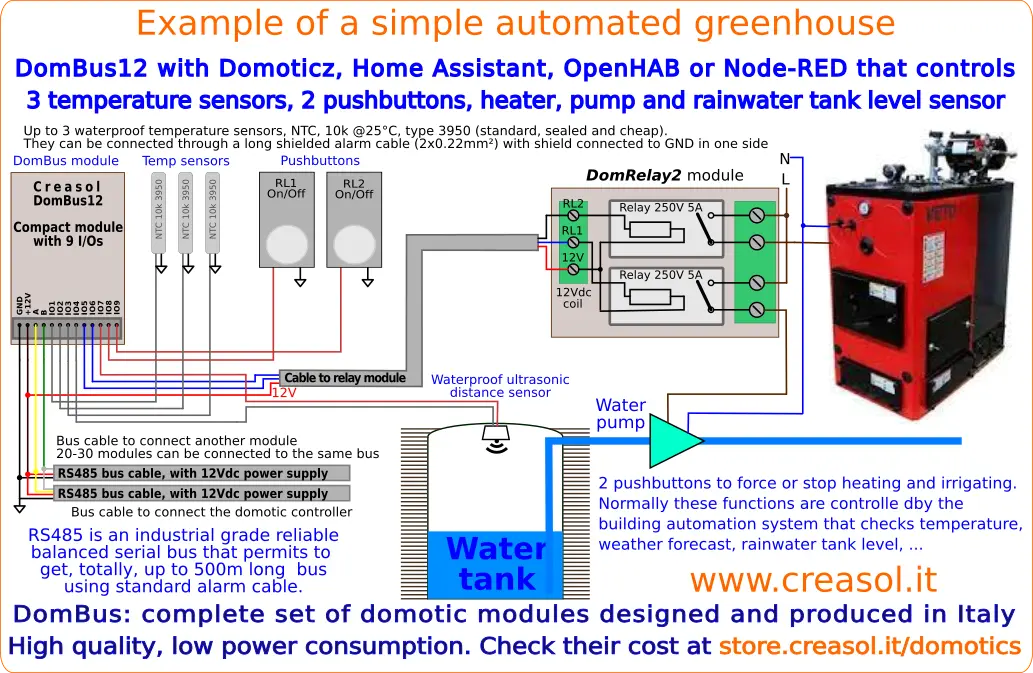
PLEASE CHECK THE ENGLISH VERSION TO GET THE UPDATED VERSION OF THIS PAGE!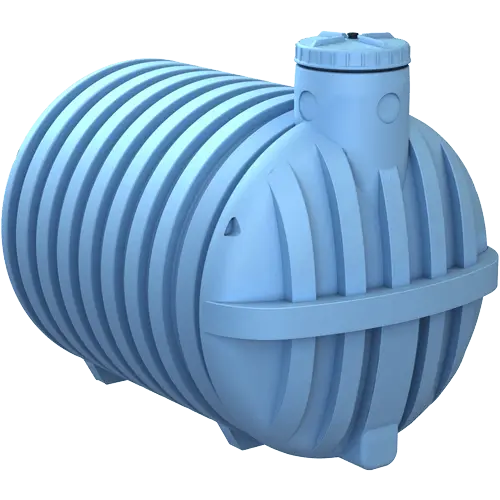 The following application note shows how to measure the level of rainwater (or other liquid) inside a tank, using a waterproof ultrasonic distance sensor JSN-SR04T.
This solution works perfectly with Domoticz home automation system, a complete, free and open source software for domotic applications, using DomBus modules programmed with DomBus firmware.
Also, using the DomBus modules with Modbus firmware, works also with Home Assistant, Node_RED, OpenHAB and other domotic systems supporting the standard Modbus protocol.
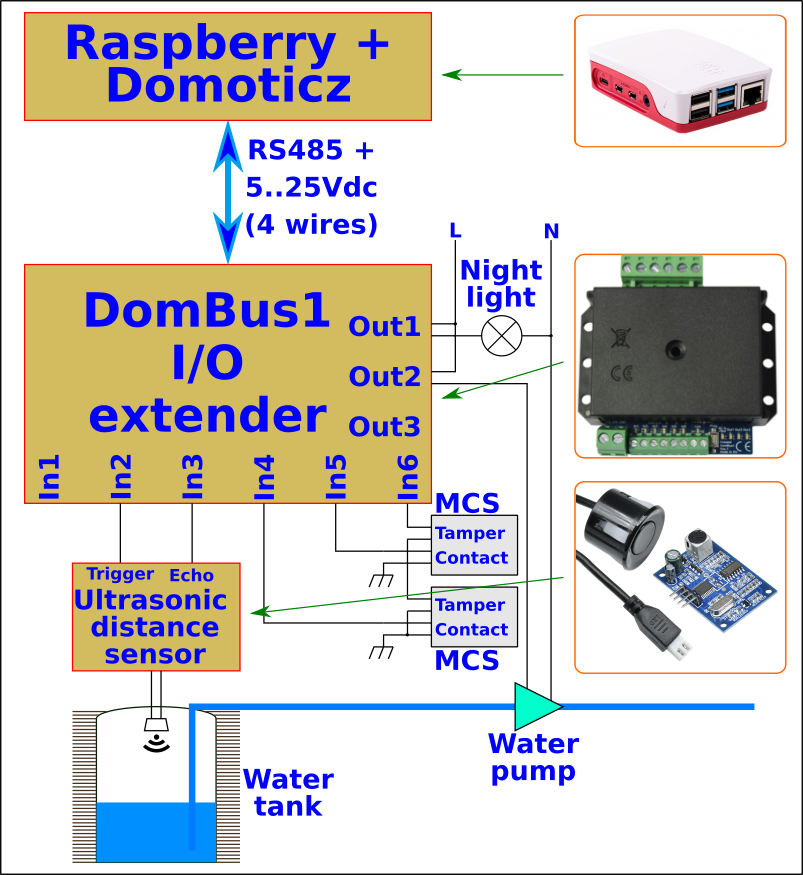
The following graph displays the measured level of rainwater inside a tank: level decreases when water is used (during garden irrigation, for example) and increases during rains; below the connection diagrams of the ultrasonic distance sensor to the DomBus12 module .
The following DomBus modules support the ultrasonic distance sensor:
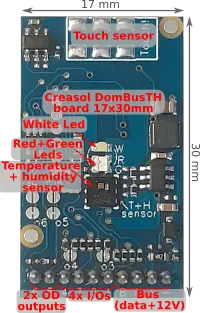
- DomBusTH, with DomBus or Modbus firmware: 6 I/Os module with RGB leds, touch sensor and temperature/humidity sensors, supporting up to 5 distance sensors (IO1, IO2, IO3, IO5, IO6) + 1 trigger output (IO4) controlling all sensors (short the o4 PCB jumper to set IO4 port as output).
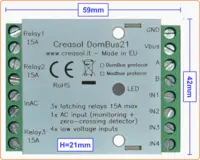
- DomBus12, with DomBus or Modbus firmware: 9 I/Os module, supporting up to 6 distance sensors (IO1, IO2, IO3, IO4, IO5, IO6) + 1 trigger output (IO7) controlling all sensors (all triggers connected to IO7, that should be set as output by shorting the RO7 PCB jumper).
- DomBus23, with DomBus or Modbus firmware: versatile module with different types of ports, supporting 1 distance sensor (IO1) + 1 trigger output (IO2) controlling the sensor: IO2 have to be set as output by shorting the RO2 PCB jumper.
- DomBus32, with DomBus or Modbus firmware: 3 relay + 3 AC inputs + 5 I/O modules, supporting 4 distance sensors (IO1, IO2, IO3, IO4) + 1 trigger output (IO5) controlling all sensors: IO5 have to be set as output by shorting the RO5 PCB jumper.
- DomBus33, with DomBus or Modbus firmware: 3 relay + 3 AC inputs + 5 I/O modules designed for lighting systems, supporting 4 distance sensors (IO1, IO2, IO3, IO4) + 1 trigger output (IO5) controlling all sensors: IO5 have to be set as output by shorting the RO5 PCB jumper.
- DomBus33, with DomBus or Modbus firmware: 3 relay + 3 AC inputs + 5 I/O modules designed for lighting systems, supporting 4 distance sensors (IO1, IO2, IO3, IO4) + 1 trigger output (IO5) controlling all sensors: IO5 have to be set as output by shorting the RO5 PCB jumper.

Documentation for JSN-SR04T waterproof distance sensor
Click to get the JSN-SR04T distance sensor datasheet
| Operating voltage | 5 V (it works at 3.3V too) |
| Operating current | 30 mA |
| Quiescent current | 4-5 mA |
| Frequency | 40 kHz |
| Measuring range | 25-450 cm |
| Resolution | 2 mm |
| Measuring angle | 30 degrees |
| Sensor dimensions | 23.5 x 20 mm with 2.5 m long cable |
| PCB dimensions | 41 x 28.5 mm (to be protected by humidity!) |
Using DomBusTH module to control up to 5 distance sensors
- Connect the 5V power supply and GND to the distance sensor boards (they works also with 3.3V).
- Connect IO1, IO2, IO3, IO5 or IO6 to the "echo" sensor output. In case of IO5 (that is factory configured to works as open-drain output), to use it as input port connected to the "echo" output, you have to open R05 (with a cutter) and short the RO5 (with a solder iron) PCB jumpers. The same for IO6.
- Connect IO4 to the "trigger" sensor input. Also, short the "O4" pcb jumper to use this I/O port as output.
- Configure (by software) IO4 (trigger) and IOx (echo) as DISTANCE (normally these ports are factory configured as digital inputs or outputs). Using Domoticz, just write in the description field of the sensor devices (both trigger and echo ports) the string ",DISTANCE" to set the port as distance sensor. In case of Modbus, program the address 255+portnumber to the value 13, corresponding to the DISTANCE sensor type.
The module returns the distance in millimiters, and is updated every 15s.
Using DomBus12 module to control up to 6 distance sensors
- Connect the 5V power supply and GND to the distance sensor boards (they works also with 3.3V).
- Connect IO1, IO2, IO3, IO4, IO5 or IO6 to the "echo" sensor output. In case of IO5 (that is factory configured to works as open-drain output), to use it as input port connected to the "echo" output, you have to open R05 (with a cutter) and short the RO5 (with a solder iron) PCB jumpers. The same for IO6.
- Connect IO7 to the "trigger" sensor input. Also, short the "RO7" pcb jumper to use this I/O as output.
- Configure (by software) IO7 (trigger) and IOx (echo) as DISTANCE (normally these ports are factory configured as digital inputs or outputs). Using Domoticz, just write in the description field of the sensor devices (both trigger and echo ports) the string ",DISTANCE" to set the port as distance sensor. In case of Modbus, program the address 255+portnumber to the value 13, corresponding to the DISTANCE sensor type.
The module returns the distance in mm, and is updated every 15s.
Domoticz configuration
- Configure the trigger output as DISTANCE:
go to Switches panel, select the trigger device (IO4 for DomBusTH, IO7 for DomBus12, IO2 for DomBus23, IO5 for DomBus32/33), and write DISTANCE in the Description field, then exit.
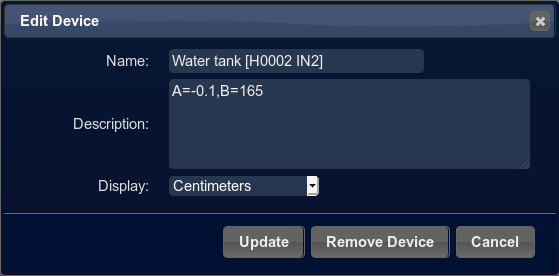
The trigger port now can be optionally disabled from Domoticz, by enter Setup -> Devices panel, and clicking in the blue arrow to remove this device from the list - Configure the echo sensor output port, by selecting the corresponding Domoticz device (for example IO1), the writing in the Description field DISTANCE,A=-0.1,B=165
A and B are parameters used to convert the sensor output (distance in mm) to the desired unit format. In the example above, if the sensor output is 400mm and distance from sensor to the tank bottom is 165cm, the value displayed in Domoticz will be
value=400mm*(-0.1)+165=165-40=125cm corresponding to the tank level (total high=165cm, distance from sensor to fluid level=40cm, level=125cm)
Alternatively, setting DISTANCE,A=0.1,B=0 it's possible to get back the distance in cm (A divide the sensor output (in mm) by 10).
Modbus configuration
- Configure the trigger output as DISTANCE:
check in the module webpage the Modbus address for the trigger port, for example for DomBus12 IO7 the Modbus register address is 6;
configure that port as DISTANCE ( set register address 256+6=262 to value 13 ) - Configure the sensor output port as DISTANCE:
check in the module webpage the Modbus address for the sensor port, for example the Modbus address of DomBus12 IO1 is 0;
configure that port as DISTANCE ( set register address 256+0=256 to value 13 )
Every 15 seconds the distance value will be refreshed and can be read from the port address (reading address 0, in the example above).


